-
Courses

Courses
Choosing a course is one of the most important decisions you'll ever make! View our courses and see what our students and lecturers have to say about the courses you are interested in at the links below.
-
University Life

University Life
Each year more than 4,000 choose University of Galway as their University of choice. Find out what life at University of Galway is all about here.
-
About University of Galway
About University of Galway
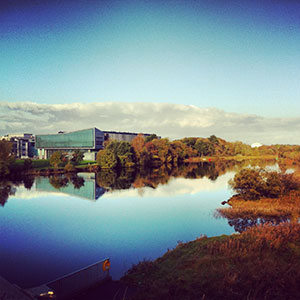
Since 1845, University of Galway has been sharing the highest quality teaching and research with Ireland and the world. Find out what makes our University so special – from our distinguished history to the latest news and campus developments.
-
Colleges & Schools
Colleges & Schools
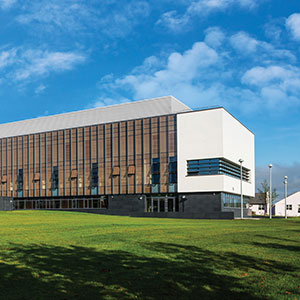
University of Galway has earned international recognition as a research-led university with a commitment to top quality teaching across a range of key areas of expertise.
-
Research & Innovation

Research & Innovation
University of Galway’s vibrant research community take on some of the most pressing challenges of our times.
-
Business & Industry
Guiding Breakthrough Research at University of Galway
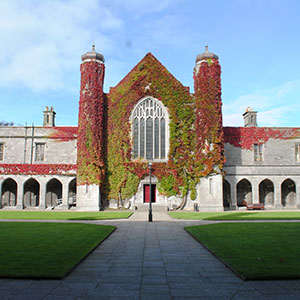
We explore and facilitate commercial opportunities for the research community at University of Galway, as well as facilitating industry partnership.
-
Alumni & Friends

Alumni & Friends
There are 128,000 University of Galway alumni worldwide. Stay connected to your alumni community! Join our social networks and update your details online.
-
Community Engagement
Community Engagement
At University of Galway, we believe that the best learning takes place when you apply what you learn in a real world context. That's why many of our courses include work placements or community projects.
3D Content Panel
3D Content Panel
This is a new content type, introduced by ISS in June 2017.Content Panel 1
This content panel floats to the right of the page. Other content appears to the left of it.
Full Width Panel
Panels can be full width.
All panels can contain media library items.
If this Content Panel is not displaying full width, scroll down and click on 'With Rightbar' to hide the right bar.
Panel 3
Any number of panels can be added to a page.
They float to the left by default (i.e. content appears to their right and wraps around them).
Panel 4
Panels stretch to be as long as the content in them requires.
They can be included in any type of page.
You don't need a set number of panels on a line because the text will wrap around them.
Note: This only happens if your screen is wider than 1000px. Anything narrower than that will render the panels as full-width to ensure legibility.
Images
You need to fully comply with copyright law. Ensure that you have the right to use any images you upload or insert onto your webpage. Further information is available on our Images FAQ page - Where can I find Images to use on my website.
Content Panel 5
If the screen width is less than 1000px, all panels change to full-width, thereby ensuring maximum legibility on mobile devices.
Note: You change a page's width (and other options) using its section's DC.Keywords field - see my interactive demonstration for full information.
Tweaking this content type:
Normally, you'd want the title (aka headline) to appear on all your panels but it is possible to hide it.
This can look very effective if you are using foreground images at the top of your panel and you want them to appear flush with the top of the panel.
To remove the headline from all 3d content panels on the page:
Add an 'NUIG Code Only' content type to the same page (at the botttom)
a. Give it the name: 'Hide all 3d content panel headers'
b. For the code, paste in the following:
<script>
$(document).ready(function(){
$('.panel h2').hide();
});
</script>
c. Click on the small arrow beside Save Changes and choose 'Save and approve'
Activate / De-activate This Feature On This Page
How do I create a 3D Content Panel
- Log in to t4.
- Go to the site structure and find the page you with the 3D Content Panel to appear.
- Click on the Actions Button, choose Edit section from the dropdown menu to enter the content of that section.
- Click on +Add Content.
- Choose the 3D Content Panel content type from the available content types.
- Fill in the Name, Title and choose the Width that you want to use.

- Fill in the Content which you want to appear in your 3D Content Panel.
- Tick the Right Justified box if you want your 3D Content Panel to go to the Right of your page.
- When editing is complete click on Save changes to put your content to Pending.

- Click on the white arrow beside Save changes and choose Save and approve to approve your content.

Sidebar Panel
Panels can also appear in the sidebar (rightbar)
If you want to have a sub-heading in a panel (see the below panel for an example), you should insert a horizontal rule and then set the next line to be 'Heading 3', using the 'Format' dropdown in the editor's toolbar.
Tips
When adding a panel to the sidebar, you should specify 'Full Width' to use all the available space in the sidebar.
Panels under the left menu
If you want the sidebar to move under the left navigation menu, simply modify the section, go to the 'Metadata' tab, and enter 'fullContentWidth' in the 'DC.Keywords' field. Then 'Save Changes' the section to save your changes.
The space on the RHS of the page (where the sidebar) used to be will now be part of the page body, so you could also have panels on the right of the page by creating a quarter-width panel that floats to the right.


